Top of the mornin’ to ya! Amanda here. This is another food post–I am so sorry…..don’t be too disappointed. I promise this recipe won’t be as bad as Colleen’s…. LOL!
So the other day I was in a baking mood and decided to try out a Lemon-Raspberry Coffee Cake……Yeah, there’s a lot going on there…
I was pleasantly surprised! This recipe wasn’t too lemony and I think I put the right amount of raspberries in.
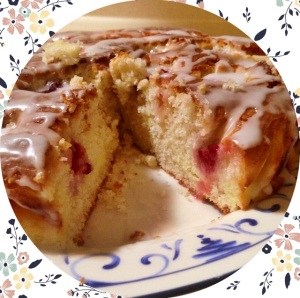
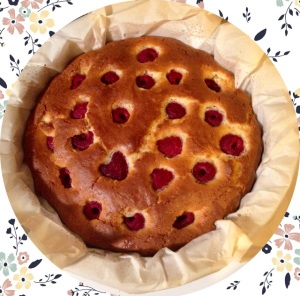
It came out looking like this:
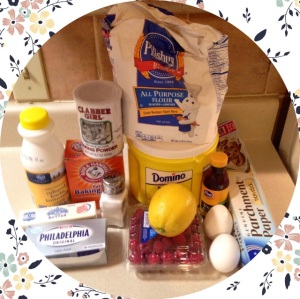
Here are the ingredients:
1.5 cups of flour
1.5 teaspoons of baking powder
.25 teaspoon of baking soda
.25 teaspoon of salt
1.25 cups of granulated sugar
.5 cups of butter, softened (this equals one stick)
2 eggs
1 teaspoon of vanilla
.75 cups of buttermilk
3 ounces of cream cheese, softened
1 teaspoon of fresh lemon juice (squeeze a whole lemon and save the rest for the icing)
You will also need parchment paper for the pan.
In addition, you will need various amounts of powdered sugar and water (for the icing).
STEP ONE:
The cake will need to bake at 375 degrees in a circular cake pan lined with the parchment paper. However, before placing the paper in the pan, spray the pan with no stick spray. After placing the paper in, spray the sides with no stick.
STEP TWO:
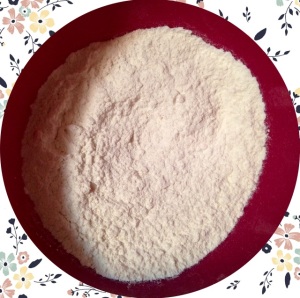
To make the cake you will need to stir the flour, baking powder, baking soda and salt together. You won’t need this mixture for a minute or two. It will look like this:
STEP THREE:
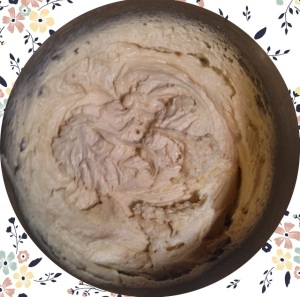
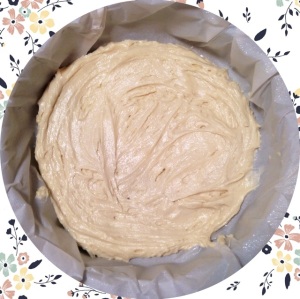
In another bowl combine one cup of sugar with the softened butter (to get the butter softened quickly, put it in the microwave for 30 seconds on power level 2). Beat the sugar and butter until they are combined well. Then add one of the eggs as well as the vanilla. Beat the mixture again for one minute. Then grab your flour mixture and the buttermilk. Alternatively add the flour and buttermilk to the sugar/butter/egg/vanilla mixture, mixing with the mixture after each addition. Ultimately it will look like this:
(it tastes pretty good too, beware)
STEP FOUR:
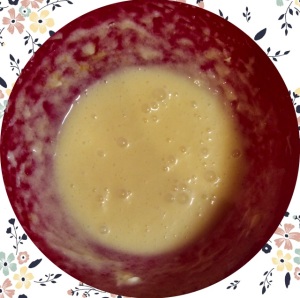
Now it is time to make the cheesecake filling (I KNOW! Cheesecake filling?!? How much denser can this simple coffee cake get?! The answer is much BTW). You will want to beat the cream cheese with the rest of the sugar (it should be 1/4 of a cup) until they are combined. Then add the lemon juice and the other egg. Beat until combined again (Tip: make sure you wash the mixing spinners after step three and before step four). The combination will look like:
STEP FIVE:
It is now time to add everything to the pan. First you will put half of the first mixture in the pan. Make sure it is spread evenly, and all the way to the edges, like this:
Tip: a knife or spoon is useful for this.
Then pour the fun colored liquidly mixture on top of the fluffy mixture. Be careful as to not mix the two mixtures. Add the rest of the fluffy mixture, and again, make sure it is spread all the way to the edges. This will be tough because the liquid will make spreading difficult. Use a knife or spoon again.
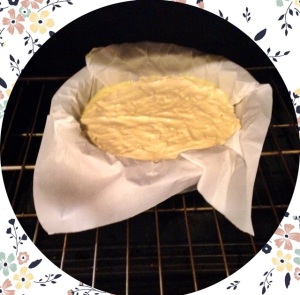
In the end it will look like this:
Put it in the oven (that is set at 375 degrees) and set a timer for 20 minutes. Go do your thing until the timer goes off. Hollaaa
STEP SIX:
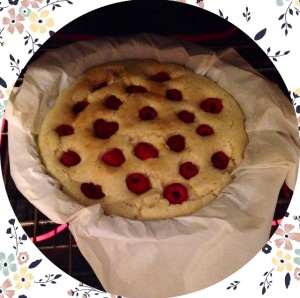
It’s raspberry time! Clean off some raspberries and take the cake out of the oven. Press the berries into the cake, like so:
NOTE: you can either press them all the way into the cake or not (I suggest pressing them all the way in, but in the end it doesn’t really matter). Put the cake back in the oven. Set another timer for 20-30 minutes. Go do your thing again. When the timer goes off, use a toothpick to check the cake. If nothing sticks to the toothpick, the cake is done. It may look something like this:
Ok, yes, mine is a little…..baked (lol). BUT–this can be fixed with the ICING!
STEP SEVEN:
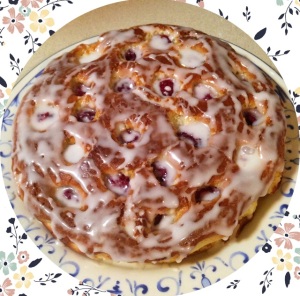
To make the icing you take how ever much powdered sugar as you would like and add a TINY amount of water to it. And by tiny, I mean tiny, or else it will be too watery. Add a little bit of the lemon juice as well and stir. When you have reached your desired consistency, use a knife to drizzle the icing on the cake. I drizzled extra icing on the edges and berries of my cake to add moisture. It looked like this:
HEHE yum. Once the cake is cooled, it is ready to be eaten. And let me just say, it is even delicious after sitting for a few days (properly covered of course).
WHAT I DID WRONG:
I had no idea you were supposed to push the raspberries into the cake all the way.
I cooked my cake too long….whoops.
But hey, it still turned out great!
WHAT I DID RIGHT:
I did an excellent job of keeping the cheesecake mixture from mixing with the fluffy mixture. Holla @ me.
I also was brilliant in thinking that the icing would soften the hard edges of my cake. (Actually I can’t take credit for that, it was my mom’s idea).
Ultimately I loved the cake (if you can’t tell), with or without coffee. I think it would also go well with blueberries….hmm. Anyway, I am definitely keeping this recipe around!
~Amanda


